API Key Setup Guide
Before you can start using the QuickSilver API, you’ll need to create an API Key. This guide walks you through the full setup process — from creation to usage and management.
API Key Creation Steps
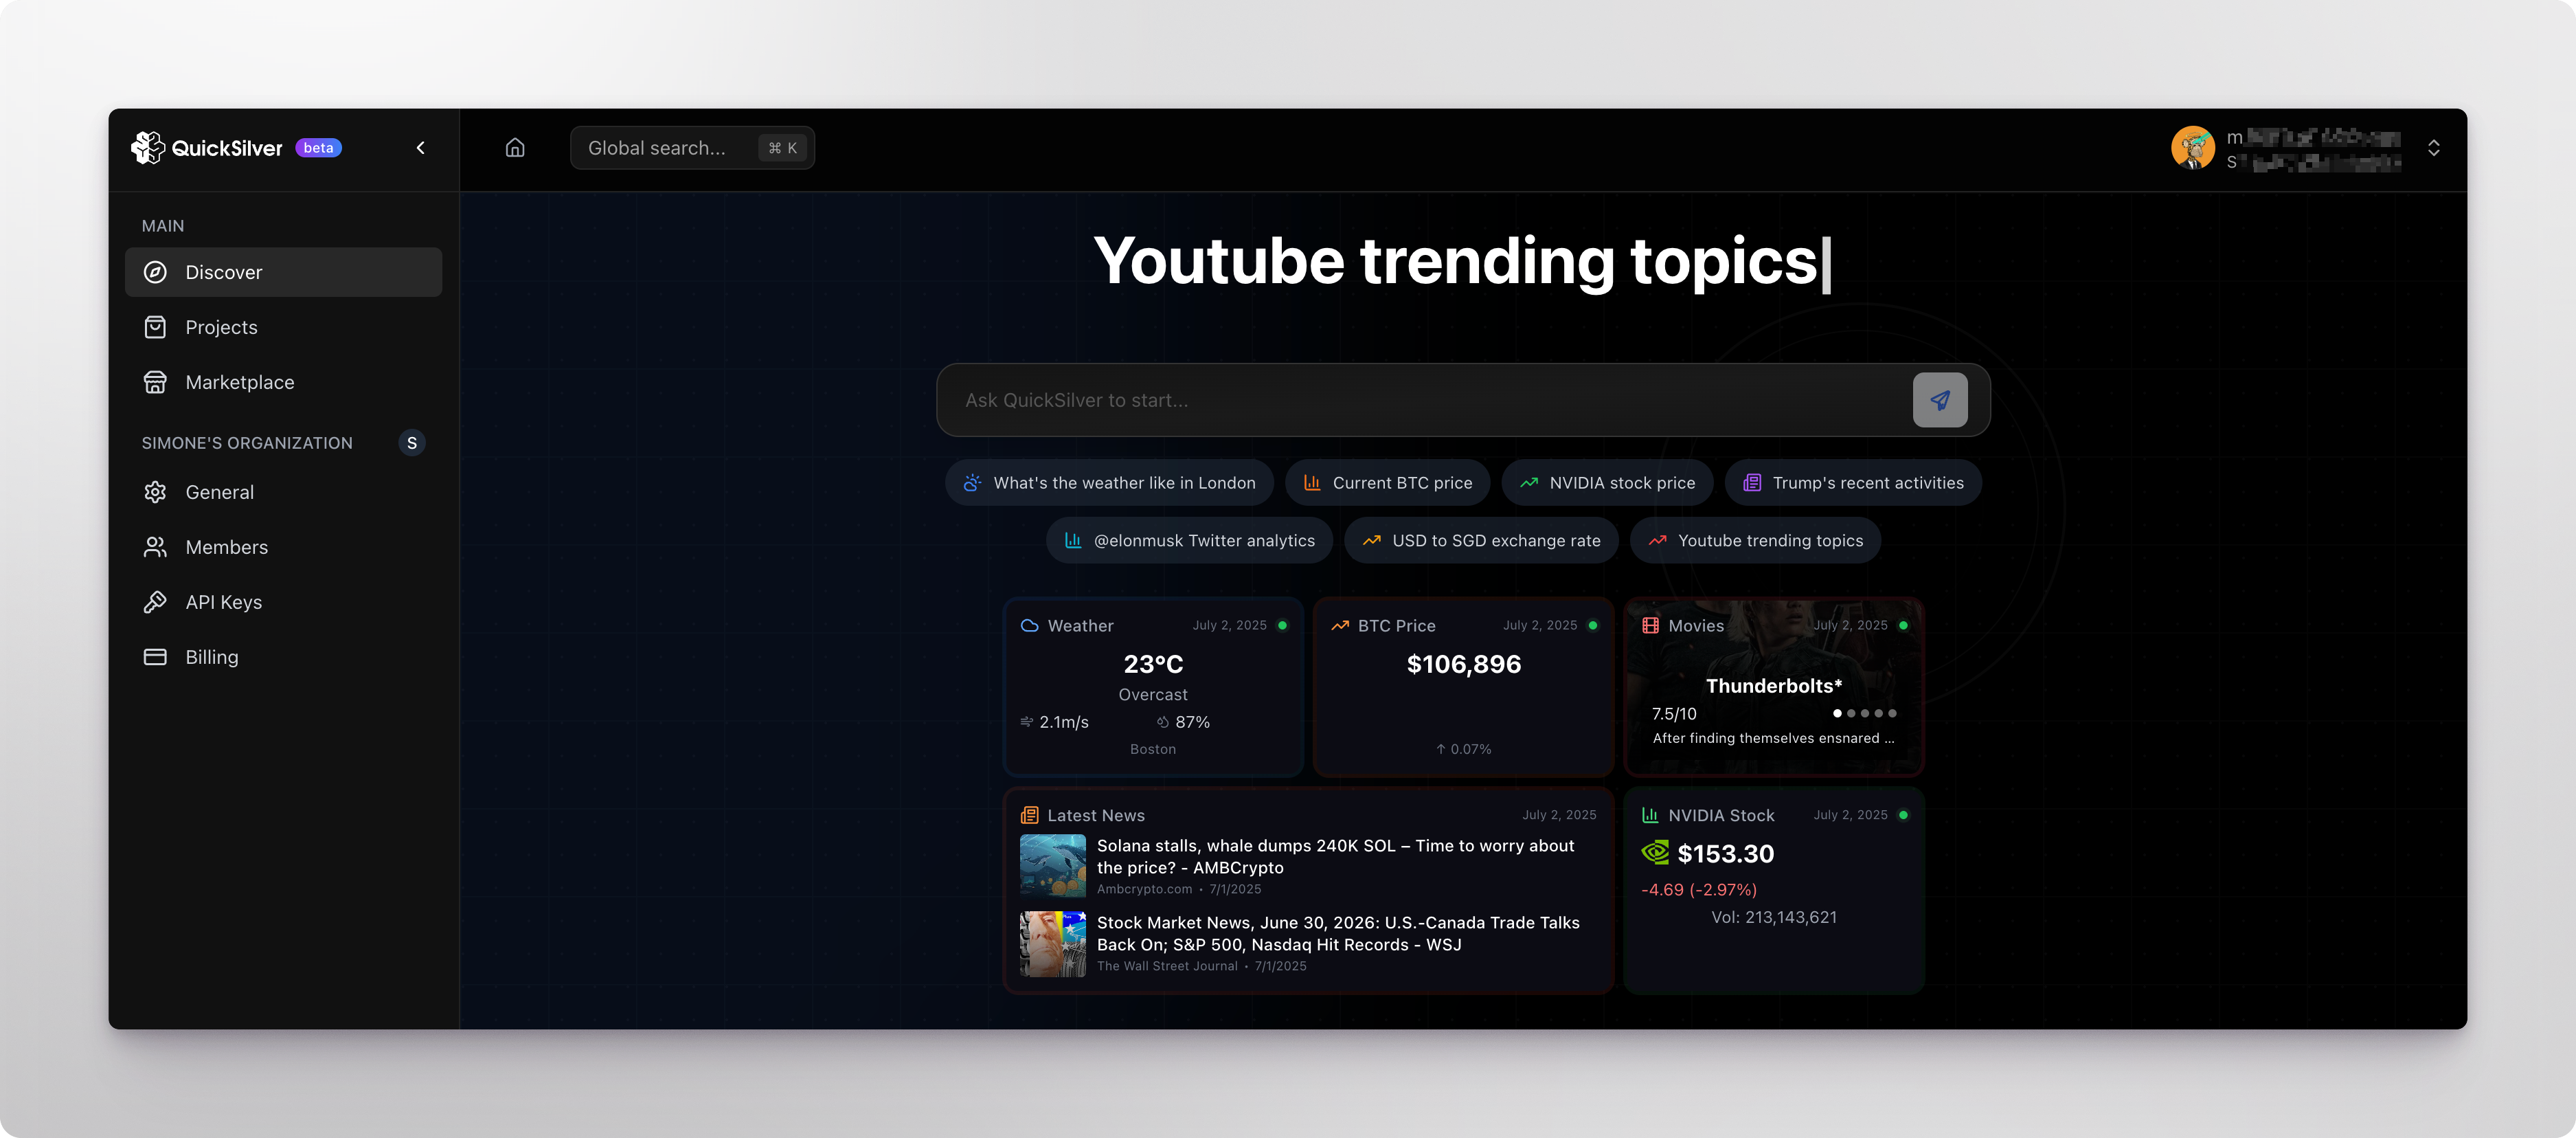
Log in to QuickSilver
Visit qs.iotex.ai and sign in to your account.
Go to Organization Settings
In the left sidebar:
- Locate your organization name
- Click on “API Keys” under the organization section
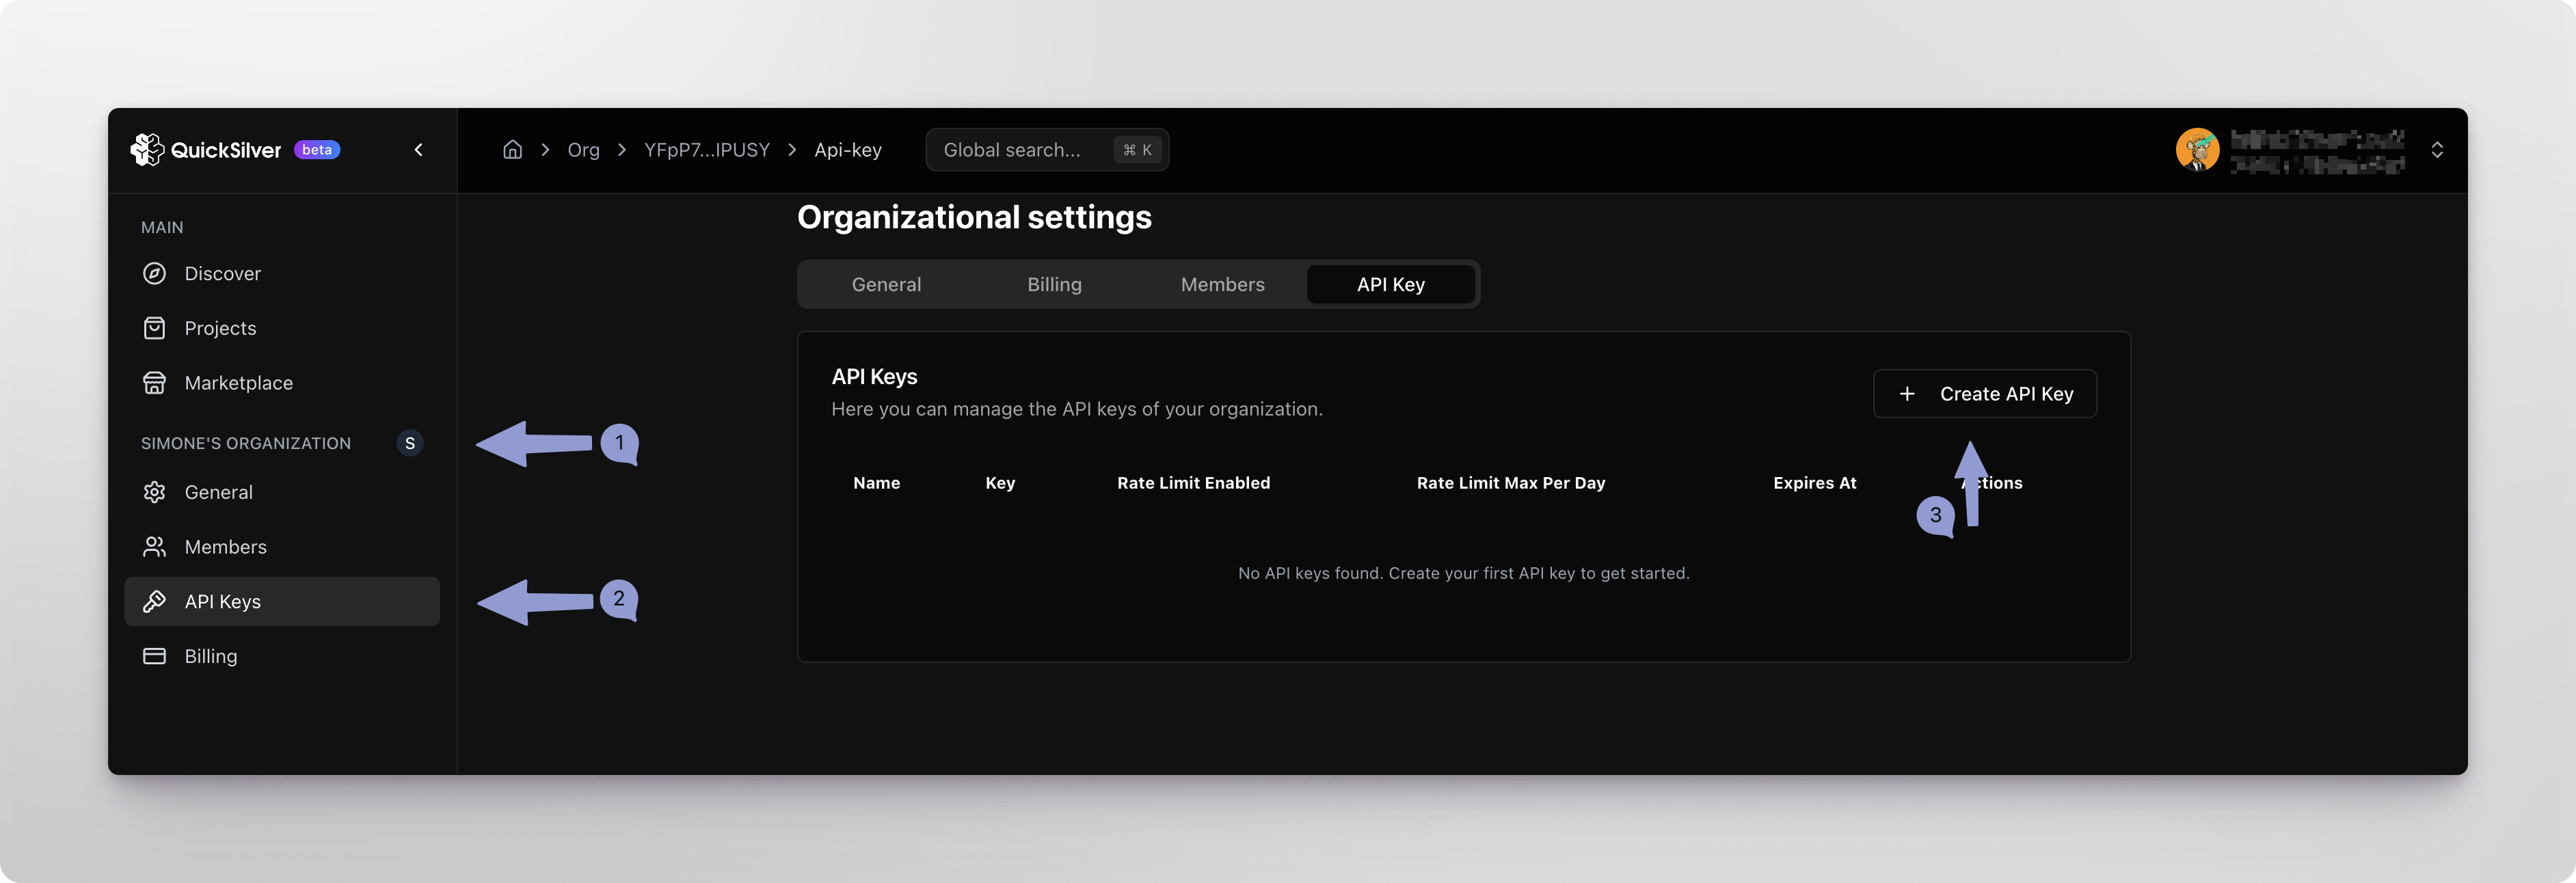
Create a New API Key
- Click the “Create API Key” button.
In the popup dialog:
- Enter a descriptive name (e.g., “Wallet Tracker Bot” or “Frontend API”)
- We recommend using a project or application name for clarity
- Click “Submit” to finish
Save Your API Key
Once created, your new key will appear in the list with the following info:
- Name – the label you assigned
- Key – partially hidden (e.g., 7d09****eb3e)
- Rate Limit Enabled – whether limits are active
- Rate Limit Max Per Day – daily requests cap
- Expires At – optional expiry time
- Actions – actions on the Key like delete or copy
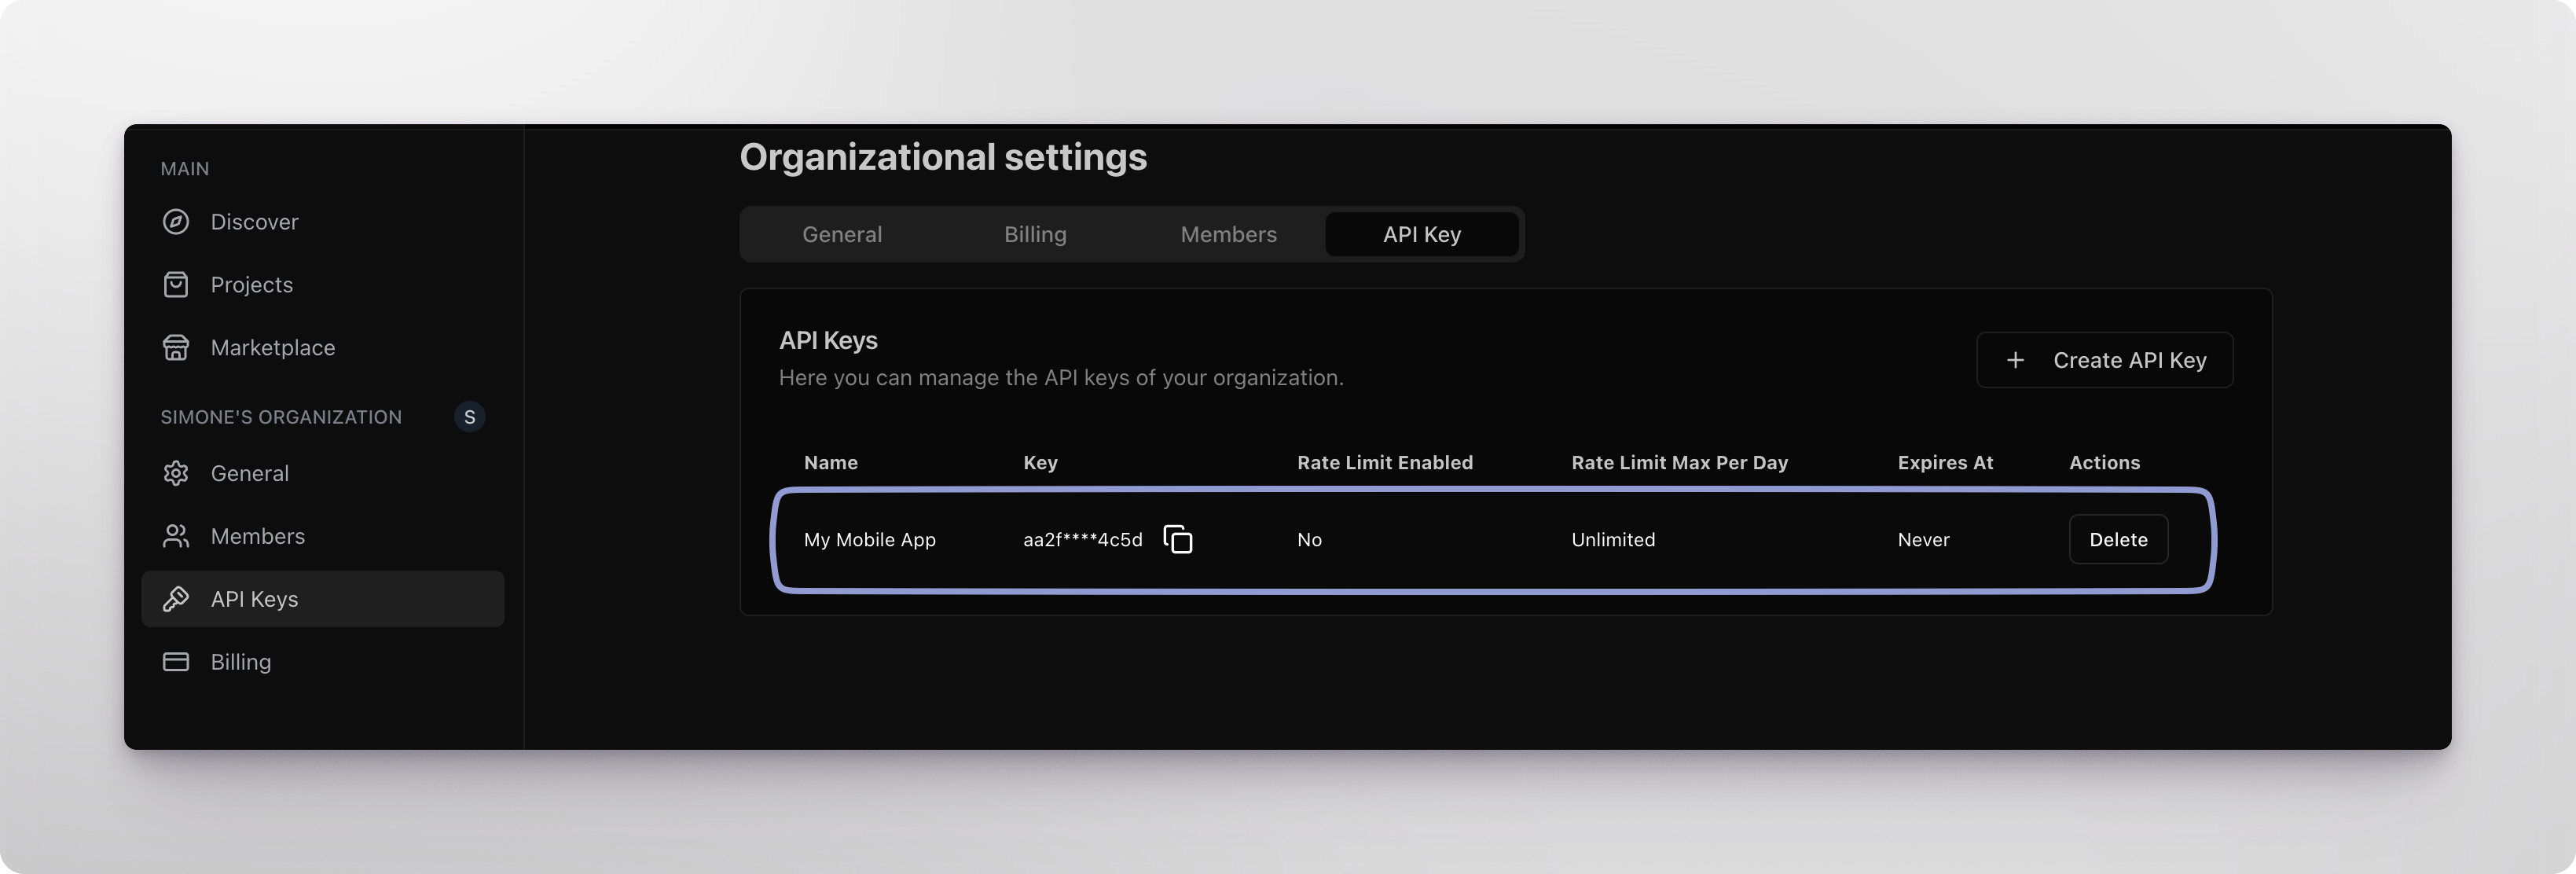
Important: You will only see the full key once at the time of creation— copy and save it securely.
Using Your API Key
After creation, you can use this API Key in various integration methods:
# Environment variable approach
export QUICKSILVER_API_KEY="your-api-key"
# Using in Python code
client = OpenAI(
    api_key="your-api-key",  # Use your API Key here
    base_url="https://api-quicksilver.iotex.ai/v1"
)
Troubleshooting
Invalid API Key
- Check for typos when copy/pasting
- Confirm the key hasn’t expired or been deleted
Permission Errors
- Ensure your account has access to the correct organization
- Make sure you’re using the correct key
Rate Limiting
- Check the rate limits associated with your key
- Reduce request frequency or request higher limits if needed
Support
If you encounter any issues while creating or using your Quicksilver API Key, check our developers community on Discord, or contact IoTeX Developers for support.